Table of Contents
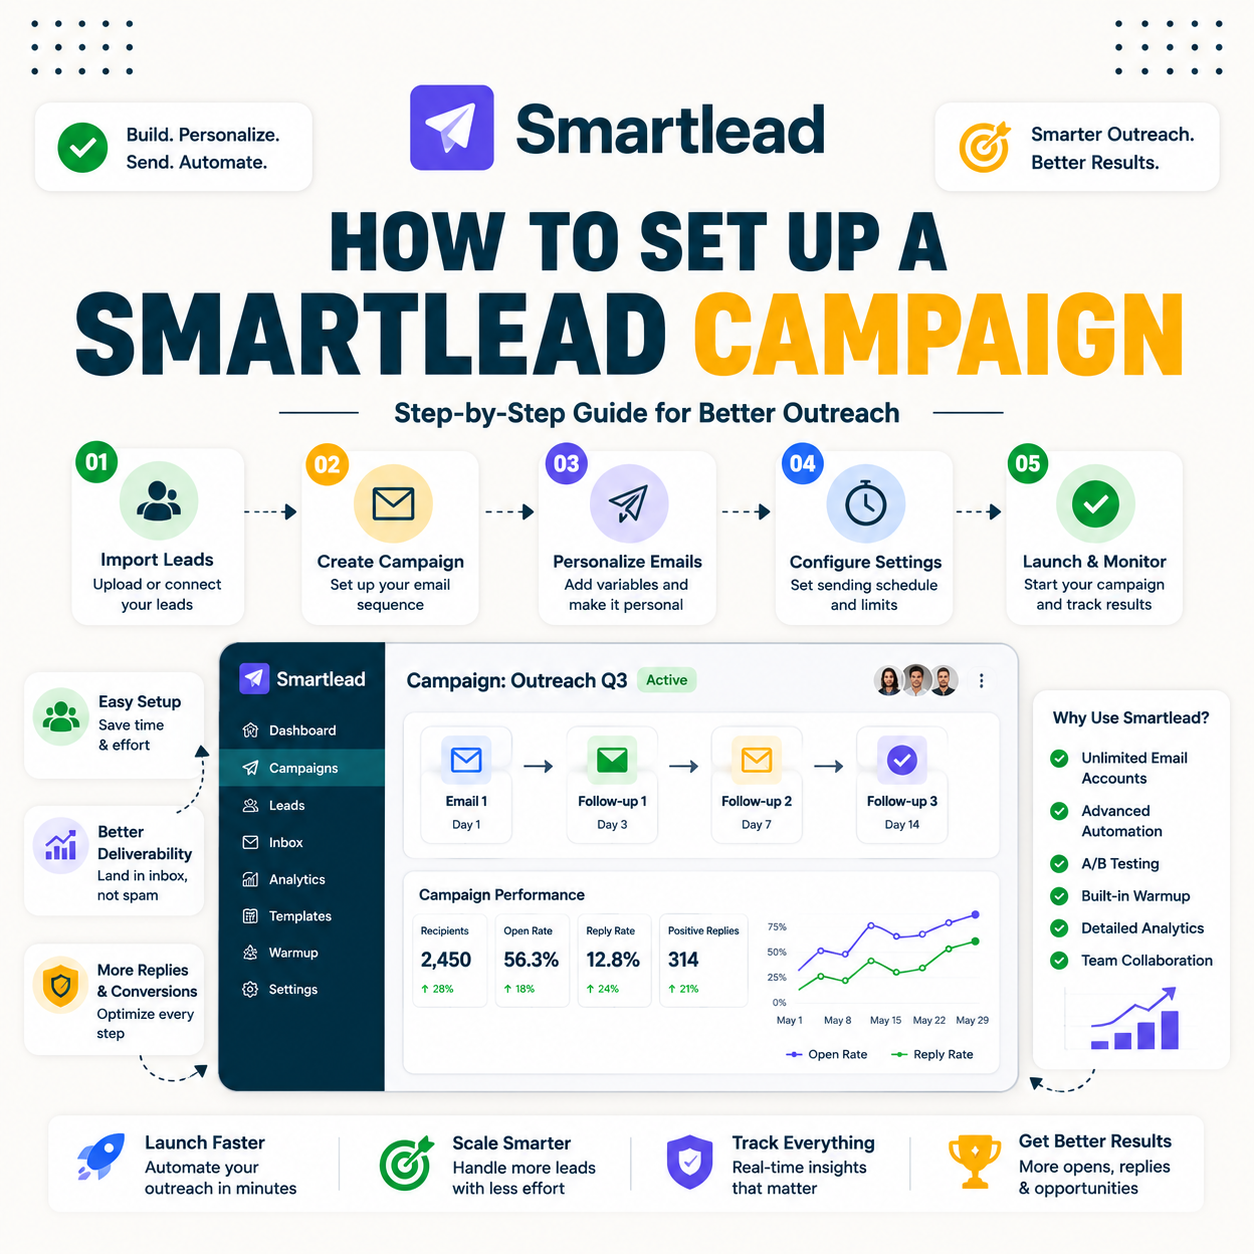
Learning how to set up a Smartlead campaign the right way means doing the deliverability work before the first send: connecting mailboxes, warming them, verifying the list, then building a sequence. This guide to how you set up a Smartlead campaign walks the six steps in order, covers the mistakes to avoid, how long setup takes, and how to scale safely once early placement looks strong.
Set up in order: connect mailboxes, warm up, verify the list, build the sequence, then launch small.
Best for: a clean first campaign that lands in the inbox.
Caveat: warmup adds one to two weeks before real sends.
Bottom line: the deliverability prep decides whether the campaign works.
Set up your first campaign. Try Smartlead free for 14 days.
Start Smartlead Free Trial →Unlimited mailboxes · no credit card · 14-day trial
What Do You Need Before Setting Up a Smartlead Campaign?
Before setting up a Smartlead campaign, you need sending domains separate from the main company domain, mailboxes to connect, a verified target list, and a sequence drafted in advance. Preparing these first keeps deliverability strong from the first send. The list below covers the prerequisites.
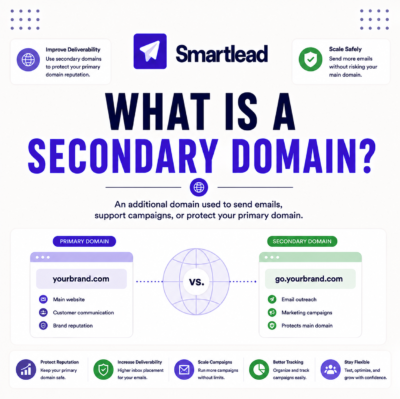
- Separate sending domains: cold outreach sends from domains apart from the main brand domain.
- Mailboxes to connect: one or more Google or Outlook mailboxes ready to authenticate and warm.
- A target list: a list of prospects ready to verify before any import into the platform.
- A drafted sequence: a short outreach sequence written before launch keeps setup moving.
- Authentication records: SPF, DKIM and DMARC set per domain before sending protect deliverability.
Step 1: How Do You Connect Mailboxes?
The first step to set up a Smartlead campaign is connecting each Google or Outlook mailbox and authenticating its domain with SPF, DKIM and DMARC. Authentication tells receiving servers the mail is legitimate, which is the foundation of deliverability. The deciding factor is that no campaign should launch from an unauthenticated mailbox. The list below covers the connection step.
- Connect the mailbox: link each Google or Outlook mailbox into the platform first.
- Authenticate the domain: set SPF, DKIM and DMARC so receiving servers trust the sender.
- Use unlimited mailboxes: connect as many mailboxes as the sending plan needs without per-mailbox fees.
- Check each connection: confirm every mailbox connects cleanly before moving to warmup.
- Keep domains separate: connect mailboxes on the dedicated sending domains, not the main brand domain.
Step 2: How Do You Warm Up Mailboxes?
Turn on warmup for every connected mailbox and let it run for one to two weeks before real sending. Warmup builds the sender reputation that decides whether cold emails reach the inbox. The honest read is that skipping warmup is the single most common reason first campaigns land in spam. The table below shows where warmup sits in the sequence.
Source: typical setup timeline from standard cold email practice, mid-2026. Times are directional and vary by mailbox count and list size.
Step 3: How Do You Verify Your List?
Verify the target list before importing it, removing invalid, role-based and risky addresses so bounce stays low. A clean list protects sender reputation from the very first send. The deciding factor is that one unverified list can undo weeks of warmup. The honest read is that verification is non-negotiable before launch.
The practical step is to run the full list through a verifier and import only the addresses that pass, keeping the first send clean.
“Verify the list before the first send, because one bounce-heavy import can undo weeks of warmup.”
— Growth Hack Suite, on list hygiene
Step 4: How Do You Build a Sequence?
When you set up a Smartlead campaign, build a short sequence of three to five emails with paced follow-ups and a clear call to action. A relevant first email plus a few spaced reminders earns more replies than a single send. The deciding factor is relevance and pacing, not length. The list below covers the sequence build.
- Three to five emails: a first email plus paced follow-ups covers most outreach without fatigue.
- Paced timing: spacing touches two to four days apart keeps follow-ups from feeling pushy.
- A clear call to action: each email ends with one low-friction ask rather than several.
- Personalization tokens: merge fields tailor each send to the prospect’s role or company.
- Plain formatting: simple text emails read as personal and avoid spam-trigger styling.
Step 5: How Do You Launch the Campaign?
Launch to a small batch first, watching placement and replies before scaling. Starting small turns the first launch into a test rather than a gamble across the whole list. The deciding factor is that early signals guide the ramp. The honest read is that a controlled launch protects the reputation built during warmup.
The practical guidance is to send to a limited batch, confirm emails land in the inbox, then expand only once the early signals look strong.
Ready to launch? Test Smartlead free for 14 days.
Start Smartlead Free Trial →No credit card · unlimited mailboxes
Step 6: How Do You Scale After Launch?
Once you set up a Smartlead campaign and placement looks strong, scale by adding volume gradually across warmed mailboxes. A steady ramp keeps each mailbox under safe daily limits while total volume grows. The deciding factor is gradual increase, not a sudden jump. The list below covers scaling safely.
- Ramp gradually: add volume in steps rather than jumping straight to maximum send rates.
- Spread across mailboxes: distributing sends keeps each mailbox under safe daily limits.
- Watch placement: monitor inbox placement as volume grows and pause if signals weaken.
- Keep warmup running: leaving warmup on alongside real sends helps sustain reputation.
- Add mailboxes to grow: scaling volume means adding warmed mailboxes, not overloading existing ones.
What Mistakes Should You Avoid in Setup?
When you set up a Smartlead campaign, avoid sending without warmup, importing an unverified list, sending too fast, and using the main company domain for cold outreach. Each shortcut damages deliverability before the campaign has a chance. The table below maps the common mistakes to what to do instead.
Source: common setup mistakes from standard cold email deliverability practice, mid-2026.
“Sender reputation, built through gradual warmup, decides whether cold emails reach the inbox.”
— HubSpot, on deliverability
How Long Does Setup Take?
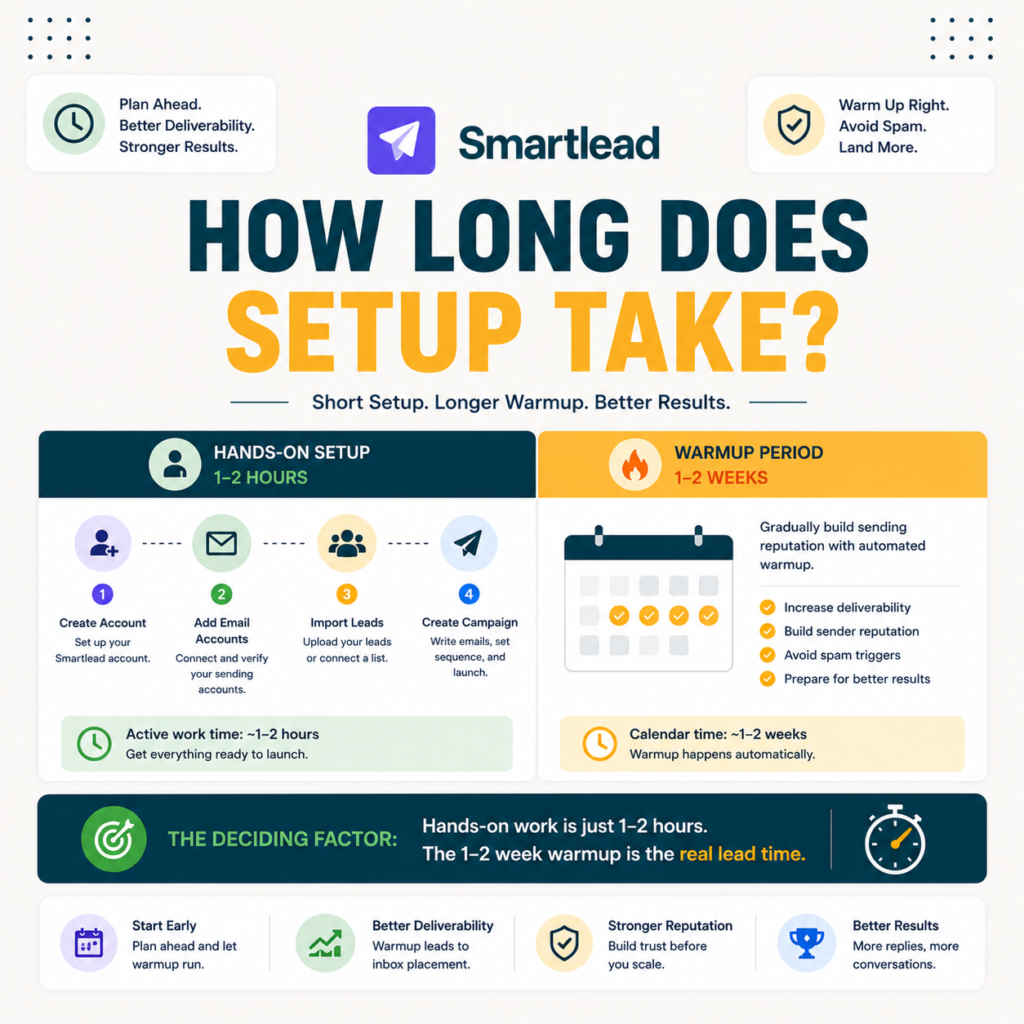
Setting up a Smartlead campaign takes an hour or two of active work, but the warmup step adds one to two weeks before real sends. Planning for that warmup window is what separates a campaign that lands from one that hits spam. The honest read is that the calendar time is mostly warmup, not hands-on work. The practical point is to start setup early so warmup finishes before the planned launch.
The deciding factor is that the hands-on hour or two is small, while the one-to-two-week warmup is the real lead time to plan around.
Who Gets the Most Value From This Setup?
Agencies and scale senders get the most value from this Smartlead campaign setup, since a disciplined process compounds across many mailboxes and clients. A low-volume sender still benefits, but the payoff grows with scale. The deciding factor is how many mailboxes and campaigns the setup supports. The honest read is that the more a sender scales, the more the upfront discipline pays back.
The practical point is that the same six steps work at any size, but the return on doing them carefully is largest for agencies and high-volume teams.
How Do You Get Started Today?
To set up a Smartlead campaign today, start on the 14-day free trial, connect a mailbox, warm it, verify a small list and run a test sequence to a limited batch. Proving the workflow on a small scale before committing is the low-risk way to begin. The trial needs no card, so the only cost is setup time. By the end of warmup, the first real campaign is ready to launch.
What Is the Most Important Setup Step?
Warmup is the most important setup step, because it builds the sender reputation that decides whether emails reach the inbox at all. List verification comes a close second, since a dirty list undoes warmup fast. The honest read is that the deliverability steps matter more than the sequence copy for a first campaign that lands.
“Email marketing is the act of sending a commercial message using email.”
— Wikipedia, Email marketing
How to Set Up a Smartlead Campaign: Final Verdict
The final verdict is that setting up a Smartlead campaign is straightforward when the steps run in order: connect mailboxes, warm them, verify the list, build a short sequence, launch small, then scale. The hands-on work is light; the warmup window is the real lead time. Do the deliverability prep first, and the first campaign lands where it should.
Growth Hack Suite Editorial — Outbound Tools Team
This guide to how you set up a Smartlead campaign is based on official documentation plus hands-on testing of the setup workflow. Timings are directional and vary by mailbox count and list size; verify current features on smartlead.ai. We review outbound tools for B2B senders.
Last updated: June 2026. Confirm current setup steps and features on smartlead.ai.
Affiliate disclosure: this page contains affiliate links. If you start a plan through them, Growth Hack Suite may earn a commission at no extra cost to you. It does not change our guidance.
Set up your first campaign the right way. Start Smartlead free for 14 days.
Start Smartlead Free Trial →Unlimited mailboxes · no credit card · cancel anytime
Related Tools in the Outbound Stack
Two other tools in the Growth Hack Suite stack pair with Smartlead during campaign setup.
- Hunter Email Verifier: verifying the list in step three keeps bounce low from the first send — see verifier accuracy.
- GMass: the Gmail-native option for a sender running a small first campaign from Gmail — read the GMass review.
- Gmail tools comparison: the Gmail-scoped breakdown for senders weighing platform versus extension — compare the Gmail tools.
Smartlead Campaign Setup FAQ
The 12 most-asked questions about setting up a Smartlead campaign.
How do I set up a Smartlead campaign?
To set up a Smartlead campaign, work in order: connect mailboxes and authenticate domains, turn on warmup for one to two weeks, verify the list, build a short sequence, then launch to a small batch before scaling.
What do I need before I set up a Smartlead campaign?
Sending domains separate from your main domain, mailboxes to connect, a target list to verify, and a sequence drafted in advance. Preparing these first keeps deliverability strong from the first send.
Do I need to warm up before my first campaign?
Yes, always. Warm every connected mailbox for one to two weeks before real sending. Warmup builds the sender reputation that decides whether your emails reach the inbox or land in spam.
Should I verify my list before sending in Smartlead?
Yes, verify before importing to remove invalid, role-based and risky addresses. A clean list keeps bounce low, which protects the sender reputation built during warmup.
How many emails should my first sequence have?
Three to five: a first email plus paced follow-ups two to four days apart, each ending with a clear, low-friction call to action. Relevance and pacing matter more than length.
Should I launch to my whole list at once?
No, launch to a small batch first, watching placement and replies before scaling. Starting small turns the first launch into a test rather than a gamble across the whole list.
How do I scale a Smartlead campaign safely?
Add volume gradually across warmed mailboxes once early placement looks strong. Spreading sends keeps each mailbox under safe limits, and keeping warmup running helps sustain reputation as volume grows.
What mistakes should I avoid in Smartlead setup?
Sending without warmup, importing an unverified list, sending too fast, and using the main company domain for cold outreach. Each shortcut damages deliverability before the campaign has a chance.
How long does Smartlead setup take?
Active setup takes an hour or two, but warmup adds one to two weeks before real sends. The hands-on work is light; the warmup window is the real lead time to plan around.
Should I use a separate domain for my campaign?
Yes, send from domains separate from your main company domain, so cold sending never risks the reputation of the brand’s primary email. It is a core deliverability protection.
Can I set up Smartlead during the free trial?
Yes, the 14-day trial lets you connect mailboxes, warm them, verify a list and run a test sequence with no card. It is enough to prove the workflow before paying.
What is the most important setup step?
Warmup. It builds the sender reputation that decides whether your emails reach the inbox. List verification is a close second, since a dirty list undoes warmup fast.